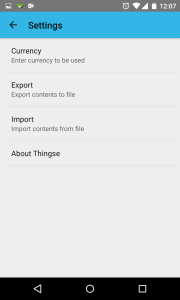
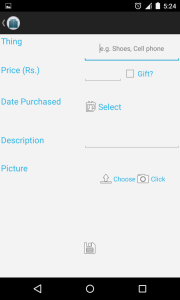
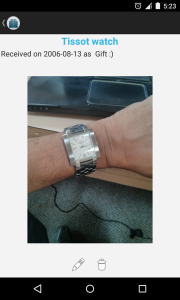
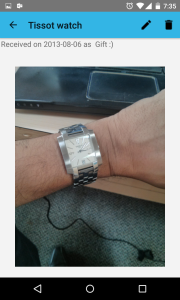
I had written a simple app called Thingse an year and a half ago to store the list of stuff that I had. The idea was to use this as a "Hello World" to get to learn and understand Android. I tried to follow the Holo theme, the prevailing UI standard at the time, as much as possible.
After a hiatus, I decided to get back to Android programming by converting the app's UI to Material design. The first step was to add the famous and ubiquitous
FAB button. The key objective of the FAB button is to promote the single most important action that the app performs. In the case of Thingse, it is to add stuff, so the button would call an add screen.
I looked at the official Android Support library but that seemed to involve too much work.
Makovkastar's (Oleksandr Melnykov) Floating Action Button library was simple and easy to use. It is customizable and has many options to handle actions.
To use the library, following are the three main steps:
- Add the following dependency com.melnykov:floatingactionbutton:1.3.0 to the module's build.gradle file (not the application's build.gradle)
dependencies {

    compile "com.melnykov:floatingactionbutton:1.3.0"

}
- Add the FAB's tag to the layout XML
<com.melnykov.fab.FloatingActionButton
    android:id="@+id/fab"
    android:layout_width="wrap_content"
    android:layout_height="wrap_content"
    android:layout_gravity="bottom|right"
    android:layout_alignParentBottom="true"
    android:layout_margin="16dp"
    android:src="@drawable/ic_action_content_new"
    fab:fab_colorNormal="@color/primary"
    fab:fab_colorPressed="@color/primary_pressed"
    fab:fab_colorRipple="@color/ripple" />
- Instantiate the FAB in the Java code and attach it to a ListView (or other views recommended by the FAB library)
//fab code
FloatingActionButton fab = (FloatingActionButton) findViewById(R.id.fab);
fab.attachToListView(thingsList);

fab.setOnClickListener(new View.OnClickListener() {
   @Override
   public void onClick(View v) {
      //Write here anything that you wish to do on click of FAB

      // Code to Add an item
      Log.i("ThingseActivity", "FAB clicked");
      startActivity(new Intent(ThingseActivity.this, AddSomething.class));

      //Ends Here
   }
});
Having done the above steps, you will get a FAB as shown in the screenshots below.
The earlier main screen of the app looked like this:

After adding the FAB button, the screen now looks like this:

There are some layout issues that remain on the landscape mode. The empty view on the list pushes the FAB out of the screen. But on the portrait mode, it works flawlessly.


