The Preferences in the main screen moved into the overflow menu in the ActionBar. The screen before material design was also shown in a previous post.
Main screen before (left) and after (right)


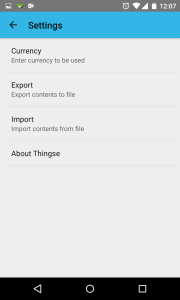
Preferences/settings screen before (left) and after (right)


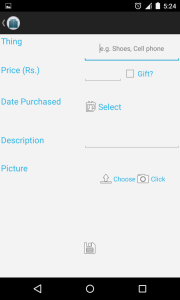
Add screen before (left) and after (right). Taking inspiration from the "Add Event" screen in the Google Calendar app, I did away with the static labels and just left them as hints in the corresponding text fields. The icons are also refreshed from the Material Icons 2.0 library.


The Edit screen looks similar to the Add screen but comes with the values pre-populated. Before (left) and after (right)


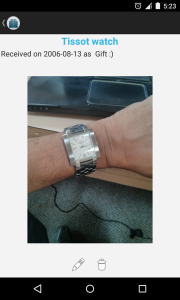
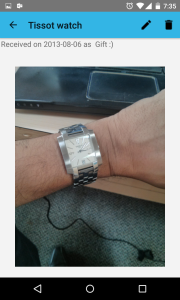
View screen before (left) and after (right). With the title and buttons moving to the ActionBar, there is more room for the image to be displayed.


Date pickers before (left) and after (right)


From a code point of view, adding menu actions to the AppBar is not unique to Material Design; just create the Menu Items and add them to the Menu component.
//menu items for edit and delete
@Override
public boolean onCreateOptionsMenu(Menu menu)
{

   menu.add("Edit").setIcon(R.drawable.ic_mode_edit_black_18dp)
         .setShowAsAction(MenuItem.SHOW_AS_ACTION_ALWAYS);

   menu.add("Delete").setIcon(R.drawable.ic_delete_black_18dp)
         .setShowAsAction(MenuItem.SHOW_AS_ACTION_ALWAYS);

   return true;

}
To get the changed look for ActionBar and all the other UI components, all you need to do is choose the higher max target API version and change the theme for the application to Material in the android manifest file. There is no code change required to be made to get the material look.

No comments :
Post a Comment
Leave a Comment...